Gone are the days of the single “boob light” in the middle of the ceiling trying to illuminate an entire room. Modern lighting design relies on layers, and the foundation of that design is Recessed Lighting (Can Lights).
But installing recessed lights isn’t just about punching holes in the drywall. It is about geometry, spacing, and color temperature. A bad layout creates “Swiss cheese” ceilings with shadows in the wrong places. A good layout makes a small room feel huge and a kitchen feel like a showroom.
Here is the Martin’s Electrical guide to planning your lighting layout.
The Logic of Layout: The Grid
The mistake DIYers make is random placement. “I need light here, so I’ll put a light here.”
Professional electricians use a Grid System.
- We align lights with architectural features (fireplaces, windows, cabinets).
- We maintain symmetrical spacing.
- We create “zones” of light.
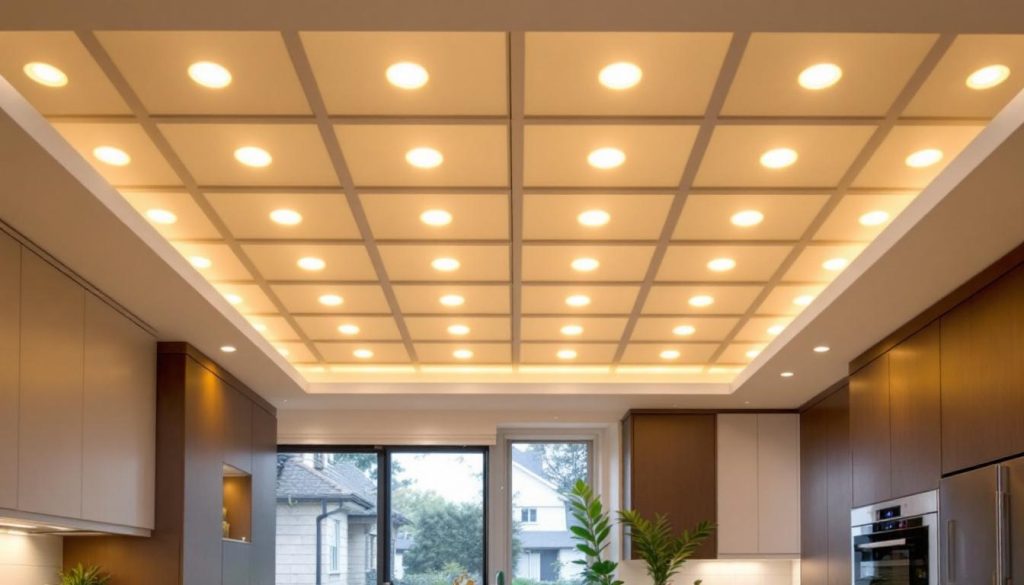
Kitchen Layouts: Function First
In a kitchen, shadows are the enemy. You need light on the counter where you are chopping vegetables, not just on the floor behind you.
1. Edge Lighting (Task Lighting):
Place cans 24-30 inches away from the wall. This targets the edge of the countertop. If you place them in the center of the walkway, your body blocks the light, casting a shadow on your work surface.
2. The Island:
Islands usually get decorative pendant lights. If you use recessed lights here, space them evenly over the island surface.
3. Spacing:
Kitchens need high lumens (brightness). Space 4-inch or 6-inch cans roughly 4 to 5 feet apart.
Living Room Layouts: Mood over Brightness
Living rooms don’t need operating-room brightness. They need ambient wash.
1. Wash the Walls: Place lights closer to the walls to “wash” light down art or drapes. This pushes the walls out visually, making the room feel bigger.
2. Avoid the “TV Glare”: Be careful placing lights directly in front of where the TV will go to avoid screen reflection.
3. The Dimmer Rule: Every recessed light in a living area MUST be on a dimmer switch. This allows you to go from “cleaning mode” (100%) to “movie mode” (20%).
The Size Question: 4-inch vs. 6-inch
- 6-Inch: The old standard. Good for high ceilings or large areas.
- 4-Inch: The modern standard. Smaller, sleeker, and less obtrusive. With modern LED tech, a 4-inch light puts out just as much light (800+ lumens) as an old 6-inch bulb. We recommend 4-inch wafers for most residential renovations.
Color Temperature: The “K” Rating
This is where people ruin their renovation. Buying the wrong color LED.
- 3000K (Soft White): The sweet spot. Crisp and clean but still warm. The standard for kitchens and living rooms.
- 2700K (Warm White): Very yellow. Good for bedrooms, but can look “dingy” in a modern kitchen.
- 4000K/5000K (Daylight): Very blue/harsh. Looks like a hospital or a garage. Avoid this inside the house unless you have a specific modern design requirement.
Retrofit vs. New Construction
Do you have to tear down the ceiling to add lights? No.
Modern “Wafer” LEDs are ultra-thin (less than 1/2 inch). They can be installed directly under a ceiling joist. We don’t have to frame around pipes or beams.
At Martin’s Electrical, we are experts in Retrofit Installation. We cut precise holes, fish new wiring through the ceiling with minimal damage, and install sleek LED wafers.
Upgrade Your Ambience
Lighting is the highest ROI upgrade you can do for your interior design. It changes the feel of the home instantly.
If you are tired of dark corners and lamps, contact Martin’s Electrical. We can design a whole-house lighting plan that brings your home to life.