Under-cabinet lighting is one of those upgrades that seems minor until you experience the difference. Kitchens without it have dark countertop shadows directly below the upper cabinets — exactly where you prep food, read recipes, and handle knives. Your body blocks the overhead light, casting shadows on your work surface every time you stand at the counter.
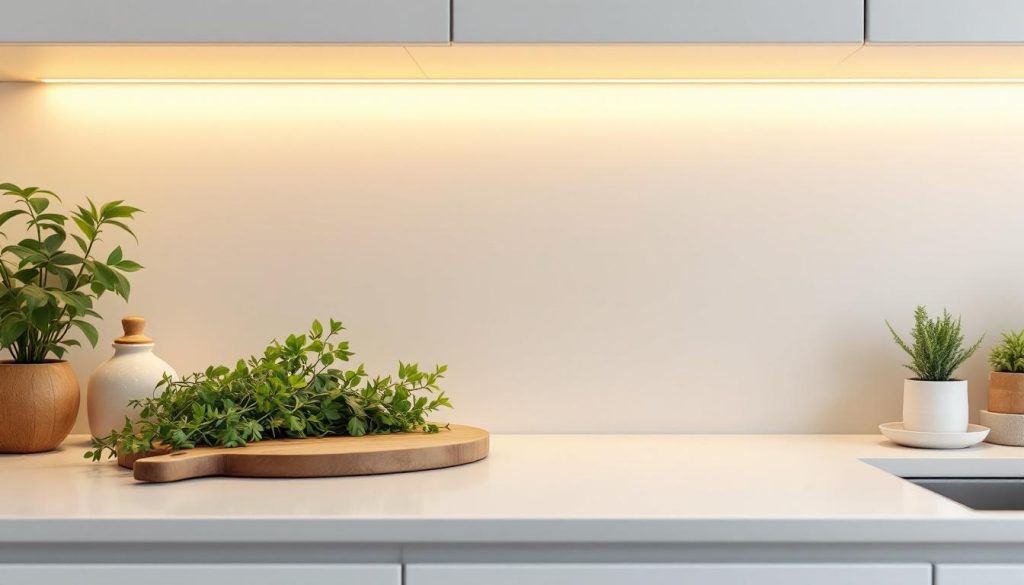
Under-cabinet lighting eliminates those shadows completely. It places a dedicated light source between the upper cabinets and the countertop, illuminating the work surface from inches away rather than from eight feet above. The result is better task visibility, reduced eye strain, and a kitchen that looks dramatically more finished and modern after dark.
For San Gabriel Valley homeowners considering this upgrade, the key decisions are which type of under-cabinet light to install, whether to go hardwired or plug-in, and how much it costs to have the job done professionally. This guide covers all three with specific pricing for the SGV market in 2026.
Types of Under-Cabinet Lighting
Three main categories of under-cabinet lighting exist, each with different appearance, light quality, and installation requirements.
LED light bars (linear fixtures):
– Continuous strip of light that spans most or all of the cabinet width
– Produces even, shadow-free illumination across the entire counter below
– Typical sizes: 12-inch, 18-inch, 24-inch, and 36-inch lengths
– Thickness: approximately 1 inch or less (nearly invisible when installed)
– Color temperature options: 2700K (warm), 3000K (neutral warm), 4000K (neutral), 5000K (daylight)
– Best for: primary task lighting, modern kitchens, continuous countertop illumination
– Price per fixture: $30 to $80
LED puck lights (round fixtures):
– Individual circular lights spaced evenly under each cabinet section
– Create pools of directional light with slight gaps between each puck
– Diameter: typically 2.5 to 3 inches
– Can be recessed into the cabinet bottom or surface-mounted
– Best for: accent lighting, illuminating specific zones, traditional kitchen styles
– Price per fixture: $15 to $40 each (typically installed in groups of three to five per cabinet section)
LED tape/strip lighting (flexible adhesive strips):
– Extremely thin flexible strip with tiny LED chips mounted along its length
– Adheres directly to the underside of cabinets
– Can be cut to exact length needed
– Requires a separate driver/transformer
– Produces softer, more diffused light than bars or pucks
– Best for: accent and ambient lighting, decorative glow, illuminating glass-front cabinets
– Price: $20 to $60 per 10-foot roll plus driver ($30 to $80)
For most kitchens focused on task lighting quality, LED light bars provide the best performance. They produce the most even illumination across your work surface without hot spots or gaps. Puck lights work well as supplemental accent lighting or in kitchens where a more traditional appearance is desired. Tape lighting is best reserved for decorative applications or areas where the ultra-thin profile is necessary.
Hardwired vs. Plug-In: The Critical Decision
This is the decision that most affects both the quality of the result and the installation cost.
Plug-in under-cabinet lights:
– Connect to a standard outlet with a visible cord
– No electrical work required for installation (DIY-friendly)
– Cord is visible unless routed through the cabinet interior or behind a valance
– Controlled by an inline switch on the cord or a switch on the fixture itself
– Cannot easily be connected to a wall switch for convenient control
– Cost: fixture only, $0 for installation labor
– Limitation: looks less finished, cord management is messy, limited switch options
Hardwired under-cabinet lights:
– Connected directly to your home’s electrical system with no visible cord
– Controlled by a wall switch (same as any other light in your home)
– Completely clean installation with no visible wiring below the cabinets
– Can be dimmed with a standard dimmer switch for ambiance control
– Requires an electrician to run wiring from a switch location to the fixture positions
– Cost: $300 to $800+ for the electrical work (depending on complexity)
– Advantage: looks professional, operates like built-in lighting, adds home value
The recommendation is clear: If you are investing in under-cabinet lighting for a home you plan to live in for years, hardwired installation provides dramatically better results. The cost difference between plug-in and hardwired is $300 to $800 — a modest premium for lighting that looks intentional rather than aftermarket. Hardwired fixtures controlled by a wall dimmer switch transform how the kitchen functions day and night.
Installation Costs for Hardwired Under-Cabinet Lighting
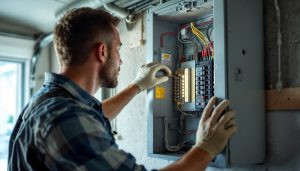
Professional hardwired installation involves running new wiring from a power source to the fixture locations, installing a dedicated switch, and connecting all fixtures. Here is what that costs in the San Gabriel Valley:
Basic installation (power source nearby, single run of cabinets):
– Electrical labor: $300 to $500
– Includes: wire from existing circuit to fixture locations, single switch installation, connection of 3-5 fixtures
– Timeline: 2 to 3 hours
Standard installation (dedicated switch, multiple cabinet runs):
– Electrical labor: $500 to $800
– Includes: new home run from panel or nearby junction, dimmer switch, wiring to multiple cabinet sections (L-shaped or U-shaped kitchen)
– Timeline: 3 to 5 hours
Premium installation (new circuit, multiple zones, smart dimming):
– Electrical labor: $700 to $1,200
– Includes: dedicated circuit from panel, multiple dimmer zones (task vs. ambient), smart switch integration, wiring to all cabinet sections including island
– Timeline: 4 to 7 hours
Total project cost (fixtures + installation):
– Budget: $400 to $700 (basic install, standard LED bars)
– Mid-range: $700 to $1,200 (standard install, quality fixtures, dimmer)
– Premium: $1,200 to $2,000 (full kitchen, multiple zones, smart controls)
These prices include all materials (wire, boxes, connectors, switch/dimmer) plus labor. Fixtures are typically purchased separately by the homeowner or can be sourced by the electrician at a modest markup.
Color Temperature: Getting It Right
The color temperature of your under-cabinet lighting affects how your kitchen looks and feels more than any other single specification. Choosing the wrong color temperature is the most common regret homeowners report after installation.
2700K (warm white): Golden, cozy tone similar to incandescent bulbs. Works well in traditional kitchens with warm wood tones and creates inviting ambiance. Can make food look slightly yellow-tinted under direct light.
3000K (neutral warm): The most popular choice for kitchen under-cabinet lighting. Warm enough to feel inviting but neutral enough that food colors look accurate and countertops appear clean. Works with both warm and cool cabinet colors. This is what we recommend for most SGV kitchens.
4000K (neutral): Crisp, clean white light. Good for task-heavy kitchens where visibility is the priority over ambiance. Can feel sterile in a home kitchen setting, especially at night. Works well in modern kitchens with white or grey cabinetry.
5000K (daylight): Very blue-white, simulating noon daylight. Too harsh for residential kitchens in most cases. Reserved for professional or commercial environments.
Critical rule: Match your under-cabinet lighting color temperature to your overhead kitchen lighting. A 2700K under-cabinet light under 4000K ceiling cans creates an unsettling color contrast that makes the kitchen look disconnected. Consistency is key.
Installation During Remodel vs. Retrofit
Timing your under-cabinet lighting installation with a kitchen remodel dramatically reduces the electrical cost. Here is why:
During a remodel (open walls and no backsplash yet):
– Wire runs openly behind the wall before tile or backsplash is installed
– Switch installation in the open wall is trivial
– Fixtures are pre-wired during cabinet installation
– Electrical cost for under-cabinet lighting: $150 to $300 (since the electrician is already on site for other kitchen work)
Retrofit into an existing finished kitchen:
– Wire must be fished through finished walls or routed through cabinet interiors
– Switch installation may require cutting into finished drywall
– Access is limited and routing is constrained by existing conditions
– Electrical cost: $300 to $800 (the full pricing listed above)
If you have a kitchen remodel planned within the next year, tell your contractor you want under-cabinet lighting provisions included in the electrical scope. The incremental cost during a remodel is a fraction of the standalone retrofit cost.
Even if the remodel does not include under-cabinet lighting in the initial plan, having your electrician run a wire and install a switch box during the remodel costs minimal extra. You can add the actual lighting fixtures later at your convenience.
Making the Right Choice for Your Kitchen
Start by deciding on hardwired versus plug-in. If hardwired, choose between LED bars (best for task lighting), puck lights (best for accent), or tape (best for decorative glow). Select 3000K color temperature unless you have a specific reason to deviate.
For most San Gabriel Valley kitchens, a set of quality LED light bars wired to a dimmer switch provides the best combination of performance, appearance, and value. The total investment of $700 to $1,200 for a standard installation transforms daily kitchen use and adds permanent value to your home.
Maintenance and Longevity
Quality LED under-cabinet lights have a lifespan of 30,000 to 50,000 hours — which translates to 15 to 25 years at typical kitchen usage rates of five to six hours daily. Unlike fluorescent tubes that dim progressively and buzz, LEDs maintain their brightness throughout their rated life and then simply stop working.
However, the LED driver (the small transformer that converts household voltage to the low voltage LEDs require) has a shorter lifespan — typically 10 to 15 years. If your under-cabinet lights start flickering or refuse to dim properly after a decade, the driver is usually the component needing replacement rather than the LED modules themselves. Drivers are inexpensive and replaceable without removing the entire fixture.
Cleaning is minimal. LED fixtures do not generate significant heat, so they do not attract grease and dust the way older halogen or fluorescent under-cabinet lights did. Wiping with a damp cloth every few months during normal kitchen cleaning keeps them performing at full brightness.
Get a free estimate for hardwired under-cabinet lighting installation. We will assess your kitchen layout, recommend fixture placement, and provide exact pricing for the electrical work.